Understanding Windows Sandbox: An Overview
Windows Sandbox is a lightweight, disposable virtual environment designed specifically for securely running applications that might be malicious or otherwise risky. Introduced with Windows 10 Pro and Enterprise versions, it serves a crucial role in maintaining the integrity of the main operating system by isolating these potentially harmful applications. Essentially, Windows Sandbox creates a temporary desktop environment where software can be executed, tested, and observed without any lasting impact on the host system.
The primary purpose of Windows Sandbox is to offer a safe and controlled space to test unknown or suspicious applications without endangering the main operating system. This feature proves particularly beneficial for both developers and everyday users. For developers, it provides a confined environment to test software and observe its behavior free from external influences. For regular users, it adds a layer of security by allowing them to trial new software without the risk of compromising their primary system.
What sets Windows Sandbox apart from other virtual machines (VMs) or sandboxing software lies in its seamless integration within the Windows ecosystem and its ease of use. Unlike traditional virtual machines, which require substantial setup and configuration, Windows Sandbox is pre-configured and ready to use out of the box. It leverages the same operating system installed on the host machine, hence it eliminates the need for separate licensing and installation processes. This instant availability and integration streamline the process for users who need quick and efficient isolation environments.
Furthermore, the temporary nature of Windows Sandbox means that every instance starts with a clean slate. Each time Windows Sandbox is launched, it opens a fresh operating system environment. Once closed, all changes and installed software within the sandbox are permanently deleted, ensuring that no residual data can affect the host system. For users seeking to test new applications securely or for developers interested in analyzing software behavior in isolation, Windows Sandbox offers a robust, easily accessible, and highly effective solution.
Preparing Your System for Windows Sandbox
Activating Windows Sandbox necessitates ensuring your system meets specific prerequisites. Primarily, your system must support hardware virtualization through Intel VT-x or AMD-V. Additionally, your device must run on a minimum of Windows 10 Pro or Enterprise, version 1903 or later.
System Requirements
To check if your CPU supports virtualization, access the BIOS or UEFI settings. Restart your computer and, during boot-up, press the designated key (commonly F2, Delete, or Esc) to enter BIOS/UEFI. Navigate to the section usually named “Advanced,” where virtualization options like Intel VT-x or AMD-V can be found. Ensure these settings are enabled. Save changes and exit the BIOS/UEFI setup.
Verifying Windows Version
To verify your Windows version, open the Start menu and type “winver” into the search bar. The winver command provides a popup window with your current Windows version. Ensure your version is 1903 or higher for Windows Sandbox compatibility.
Checking Virtualization in Windows
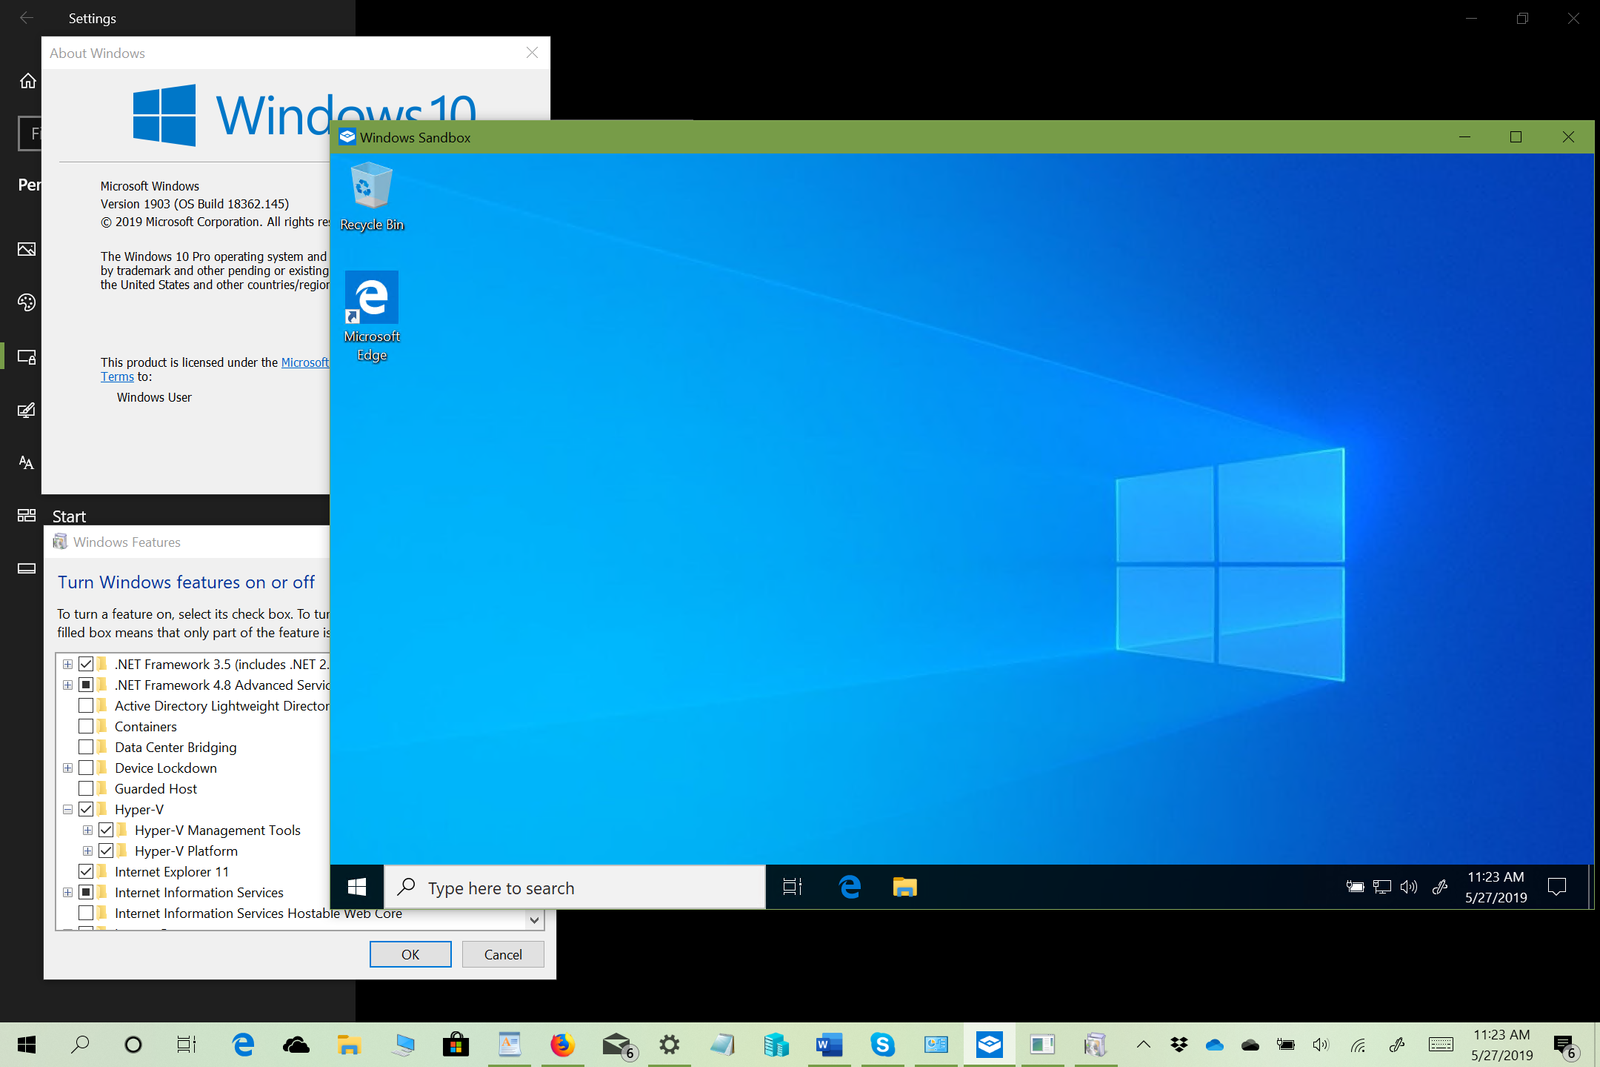
Further, ensure virtualization is enabled within Windows. Open Control Panel and navigate to “Programs,” then select “Turn Windows features on or off.” In the list, confirm that options like “Hyper-V” and “Windows Hypervisor Platform” are ticked. If not, enable them and allow Windows to apply the changes, which may require a restart.
To sum up, after confirming your system supports hardware virtualization, verifying your Windows version, and enabling relevant Windows features, your system will be well-prepared to activate and utilize Windows Sandbox effectively. This preparatory work ensures a seamless experience when using Windows Sandbox for your virtualized, isolated environment needs.
Activating and Accessing Windows Sandbox
To begin utilizing Windows Sandbox, it is imperative first to ensure that your system meets all necessary prerequisites. These include running Windows 10 Pro or Enterprise, having at least 4 GB of RAM, 1 GB of free disk space, and a minimum of 2 CPU cores. Additionally, hardware virtualization must be enabled in your system’s BIOS or UEFI settings.
Once these requisites are satisfied, follow these steps to activate Windows Sandbox:
1. Open the Control Panel by searching for it in the Start menu.
2. Navigate to “Programs,” and then select “Turn Windows features on or off.”
3. In the Windows Features dialog box, scroll down and locate “Windows Sandbox.” Check the box next to it, and then click “OK.”
4. Windows will now install the necessary components. This process may require a system reboot to complete the changes.
If Windows Sandbox does not appear or fails to activate, ensure that your system’s hardware virtualization is enabled. Access your BIOS or UEFI settings during your computer’s boot process (typically by pressing F2, F12, or DEL, depending on your motherboard’s manufacturer) and enable any settings related to Intel VT-x or AMD-V. Once virtualization is enabled, repeat the activation steps.
After successful activation, accessing Windows Sandbox is straightforward:
1. Open the Start menu, and search for “Windows Sandbox.” Click on the application to launch it.
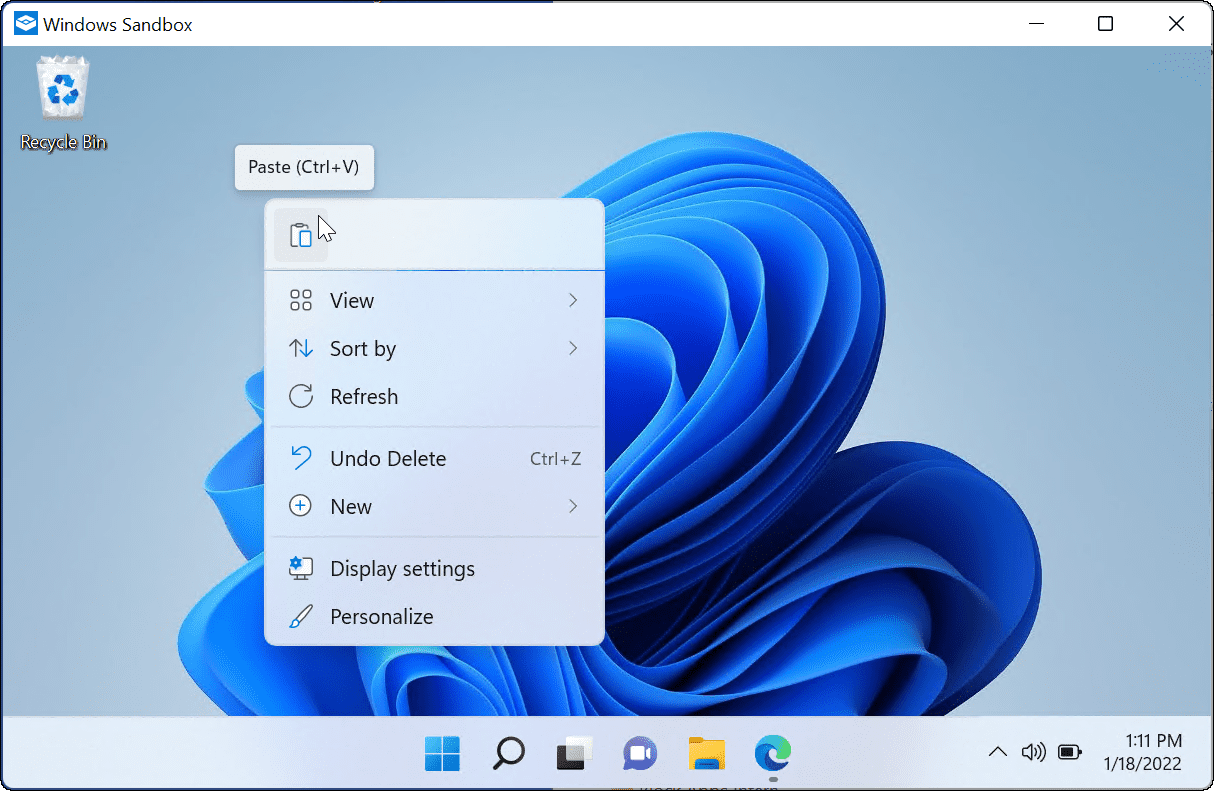
2. Upon opening, you will be presented with a new window displaying a pristine, isolated desktop environment.
The Windows Sandbox user interface is minimal and resembles a typical Windows 10 desktop. Any actions taken within this environment do not impact your primary system, providing an ideal setup to run potentially unsafe applications or scripts risk-free. To exit, simply close the Windows Sandbox window, which will automatically discard all changes and reset the environment.
By following these steps, you can easily activate and access Windows Sandbox, ensuring you have a secure environment for testing and other isolated activities.

Practical Uses and Tips for Windows Sandbox
Windows Sandbox provides a secure, isolated environment for testing applications and browsing risky websites without endangering your main operating system. This disposable virtual machine resets after each session, making it ideal for safely experimenting with software, registry tweaks, and scripts. To maximize its benefits, save important work externally before closing the session and allocate sufficient resources for smooth performance. Windows Sandbox is a powerful tool for conducting sensitive tasks securely.
Conclusion and Frequently Asked Questions
In conclusion, Windows Sandbox serves as an invaluable tool for users who seek to test software, execute scripts, or make system changes in a controlled, isolated environment without risking their primary operating system. By offering a lightweight and disposable environment, Windows Sandbox enhances security and provides peace of mind for both individual users and IT professionals. This built-in feature in Windows 10 and later versions allows experimentation without leaving lasting impacts on the main system, thereby elevating overall cybersecurity practices.

Frequently Asked Questions
1. Can Windows Sandbox replace traditional antivirus software?
No, Windows Sandbox is not designed to replace traditional antivirus software. While it provides a secure environment to run potentially harmful applications, it does not offer real-time scanning or protection against threats across the entire system. Users should continue to use antivirus software as part of their broader security strategy.
2. Is data saved between Sandbox sessions?
No, data is not saved between Sandbox sessions. Windows Sandbox is designed to be a temporary, isolated environment, and all files, programs, and settings are discarded once the Sandbox is closed. This ensures that no residual data from testing environments will impact the main system or future Sandbox sessions.
3. What are the limitations of Windows Sandbox?
Windows Sandbox comes with a few limitations. It requires Windows 10 Pro, Enterprise, or Education. It also needs virtualization capabilities enabled in the BIOS. Furthermore, since it resets with every use, it is not suitable for long-term testing or for scenarios where persistent data storage is necessary.
4. Can I network between Windows Sandbox and my main system?
By default, Windows Sandbox can access the internet and shared network resources similarly to the main system. However, changes made within the Sandbox, including network configurations, do not affect the host system. Users can also customize network settings through Sandbox configuration files to suit specific needs.
5. Is Windows Sandbox resource-intensive?
Generally, Windows Sandbox efficiently uses system resources, but it does require sufficient CPU, RAM, and storage to operate effectively. Performance can vary based on the host PC’s hardware capabilities. Microsoft recommends using a reasonably specced machine to ensure optimal performance for both the host and the Sandbox environment.
